Photos of our layout, “As Yet Un-named” taken at Supertrain 2023 by Dave Luckman (LnL Junction) with our thanks.
We have a 33’long ‘end-to-end layout in OO scale, based loosely on a fictional 1960’s Britain.
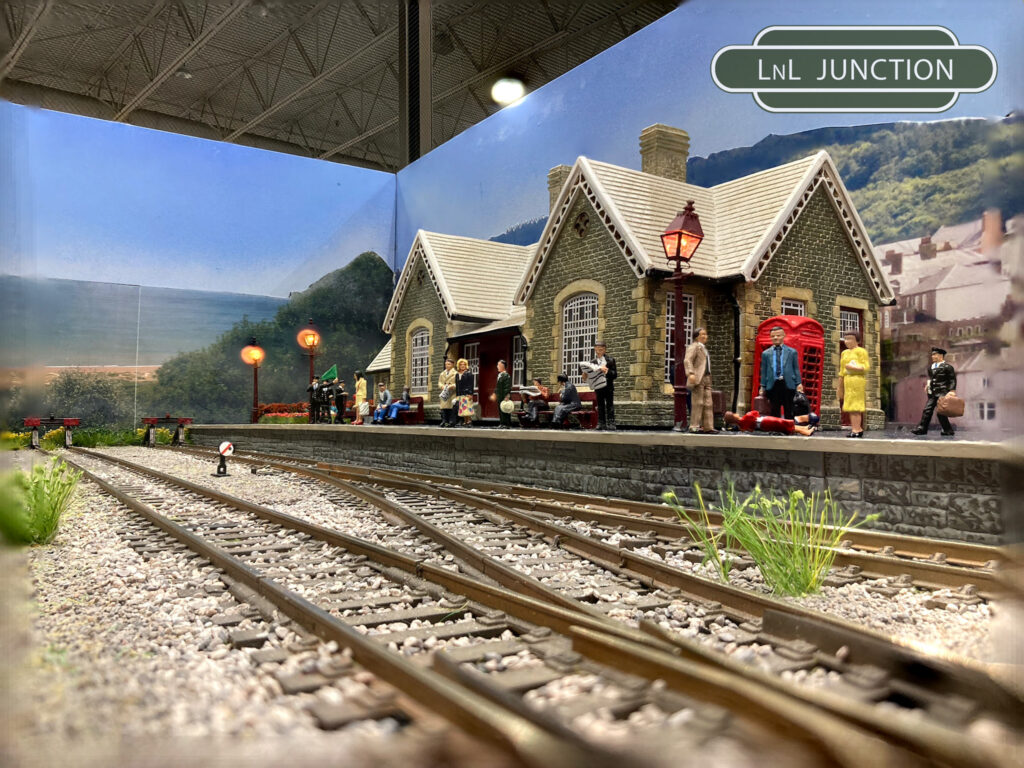
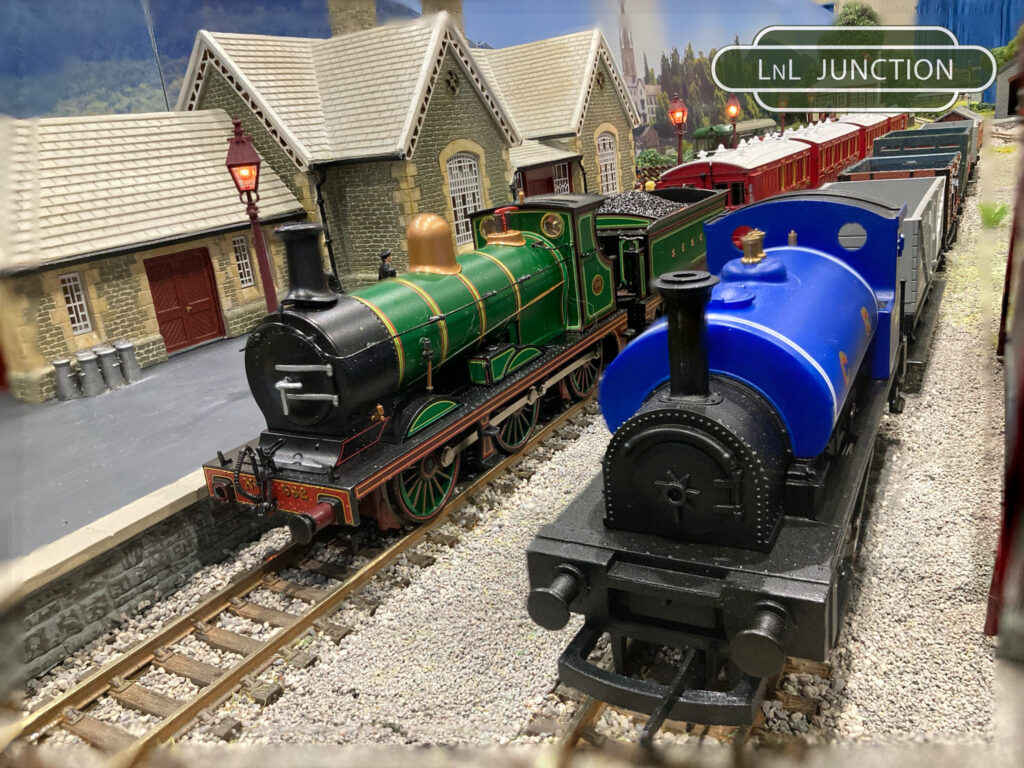
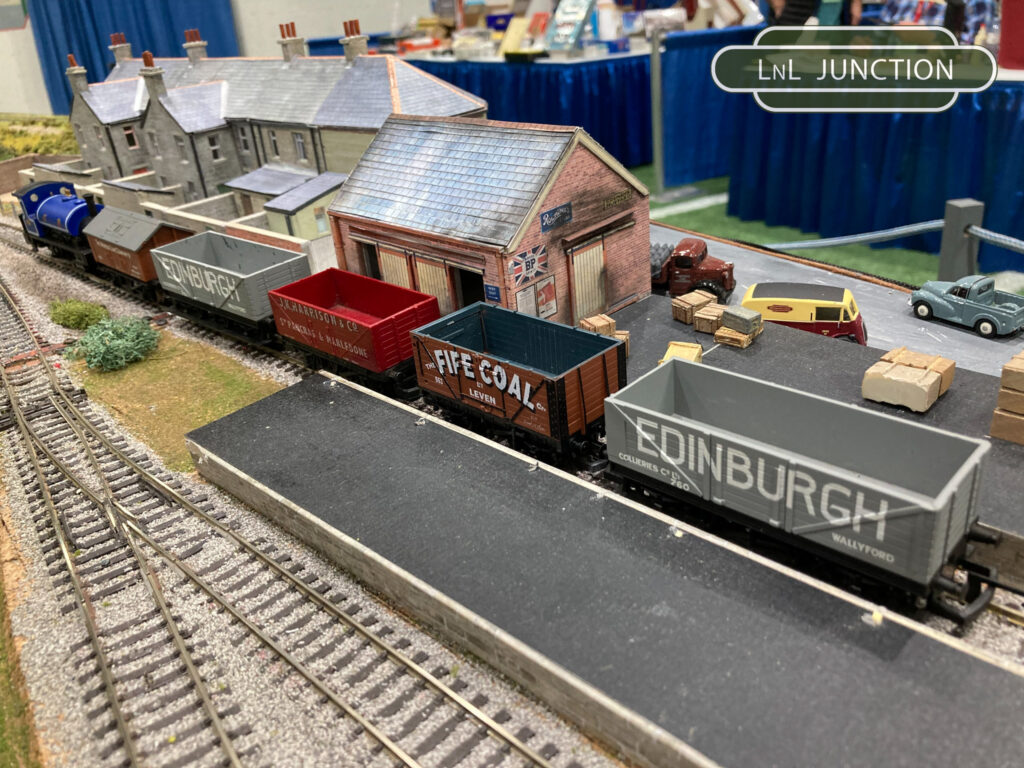
At the west (left) end is a small terminus station, goods yard and loco shed.
![](https://calgarybritishrailwaymodellers.ca/wp-content/uploads/2023/07/IMG_1028-1037-1024x768.jpg)
![](https://calgarybritishrailwaymodellers.ca/wp-content/uploads/2023/07/IMG_1507-1516-1-1024x768.jpg)
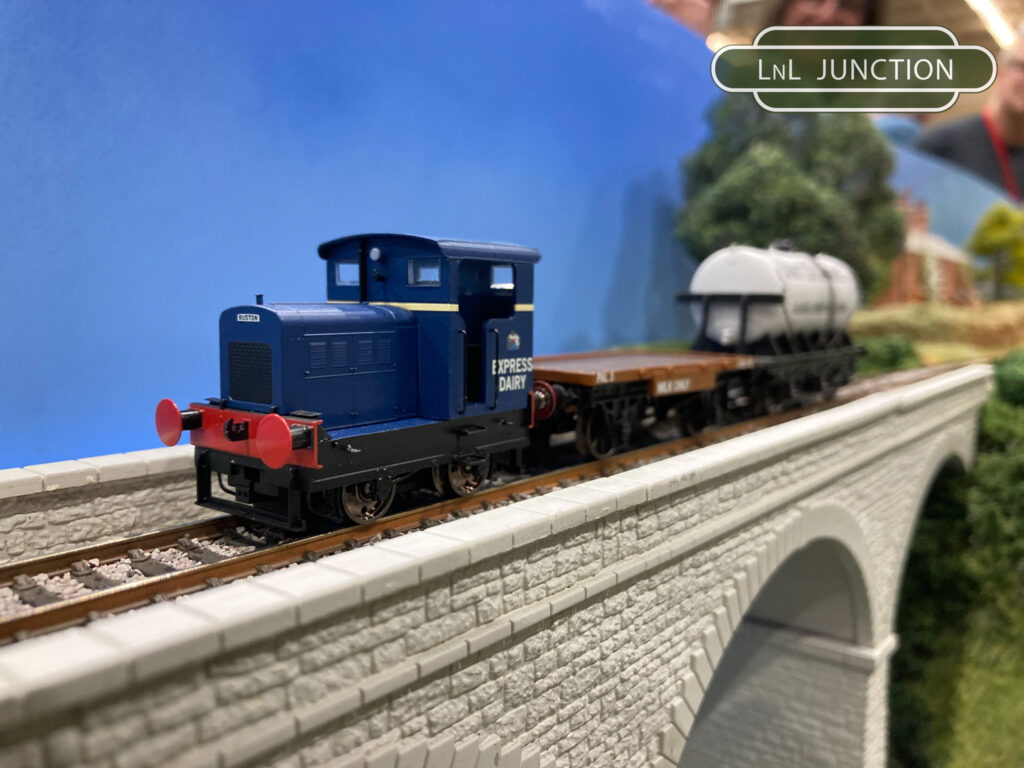
Heading East the line crosses a deep valley over a viaduct.
![](https://calgarybritishrailwaymodellers.ca/wp-content/uploads/2023/07/IMG_1169-1024x768.jpg)
![](https://calgarybritishrailwaymodellers.ca/wp-content/uploads/2023/07/IMG_1481-1024x768.jpg)
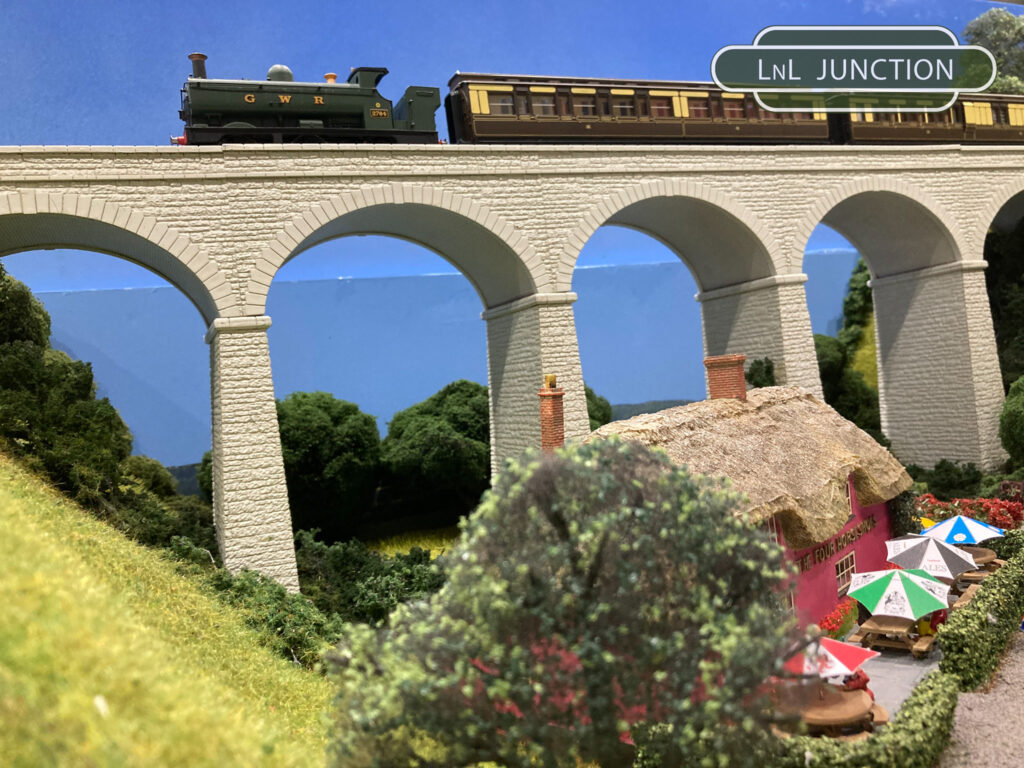
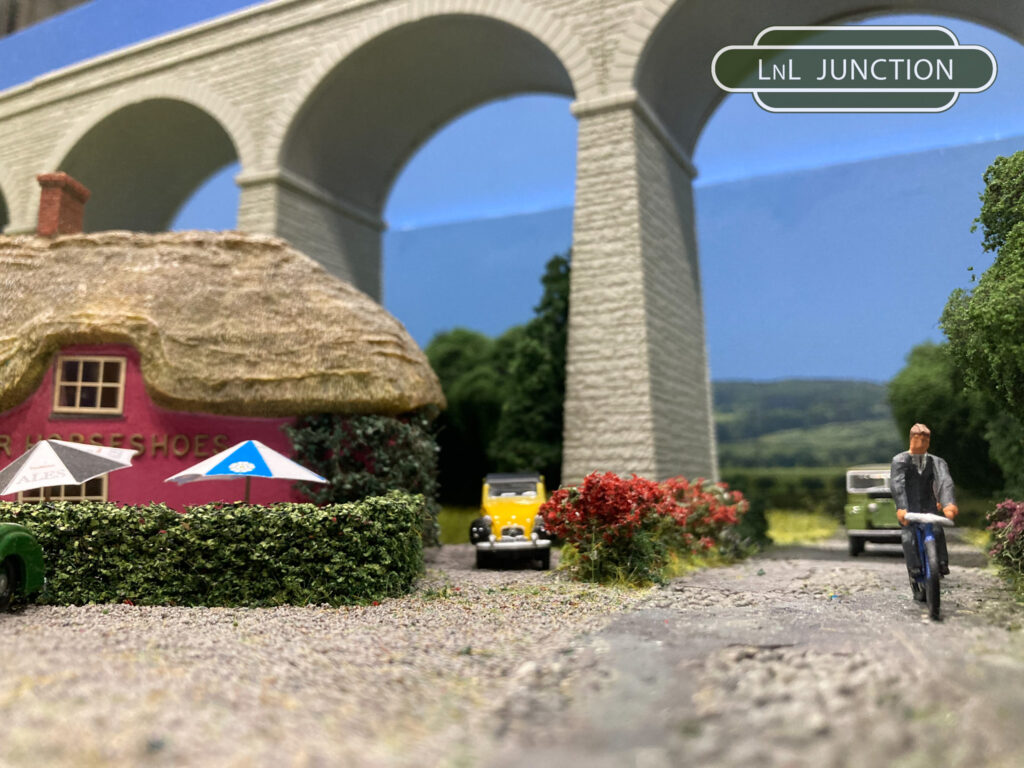
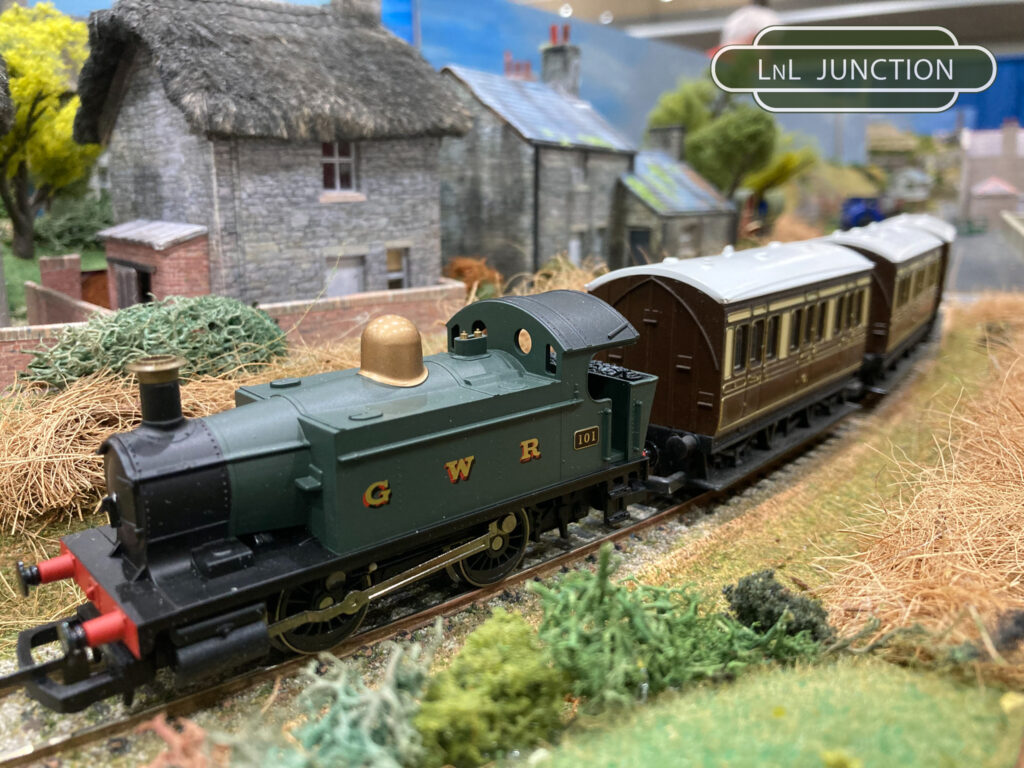
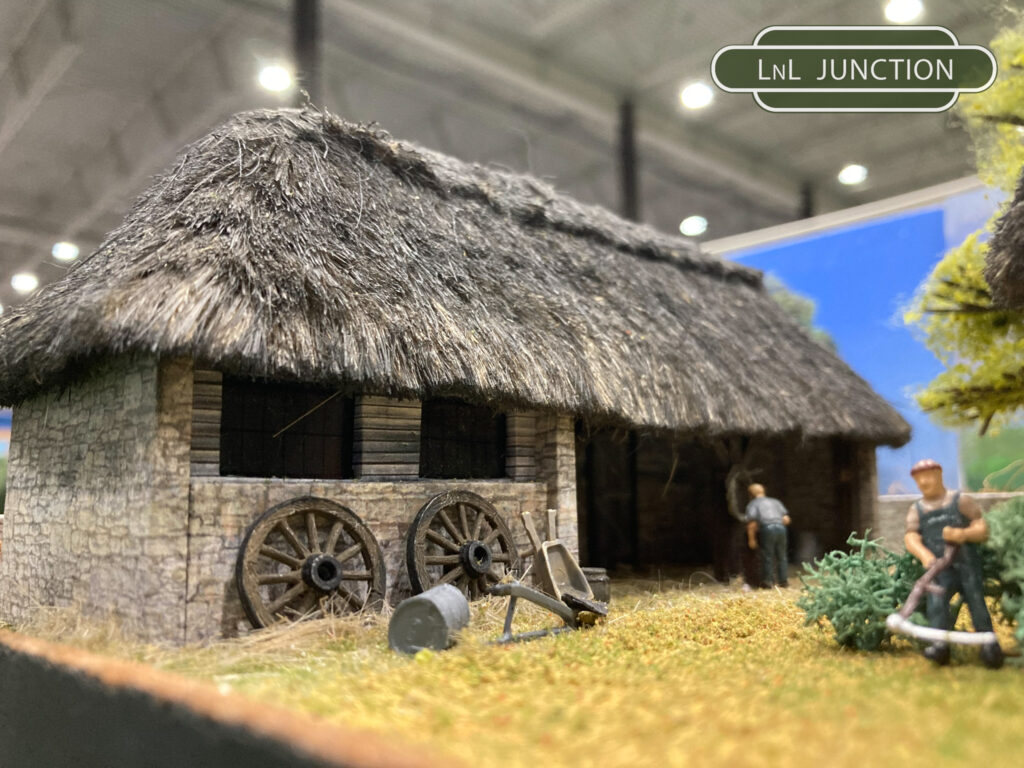
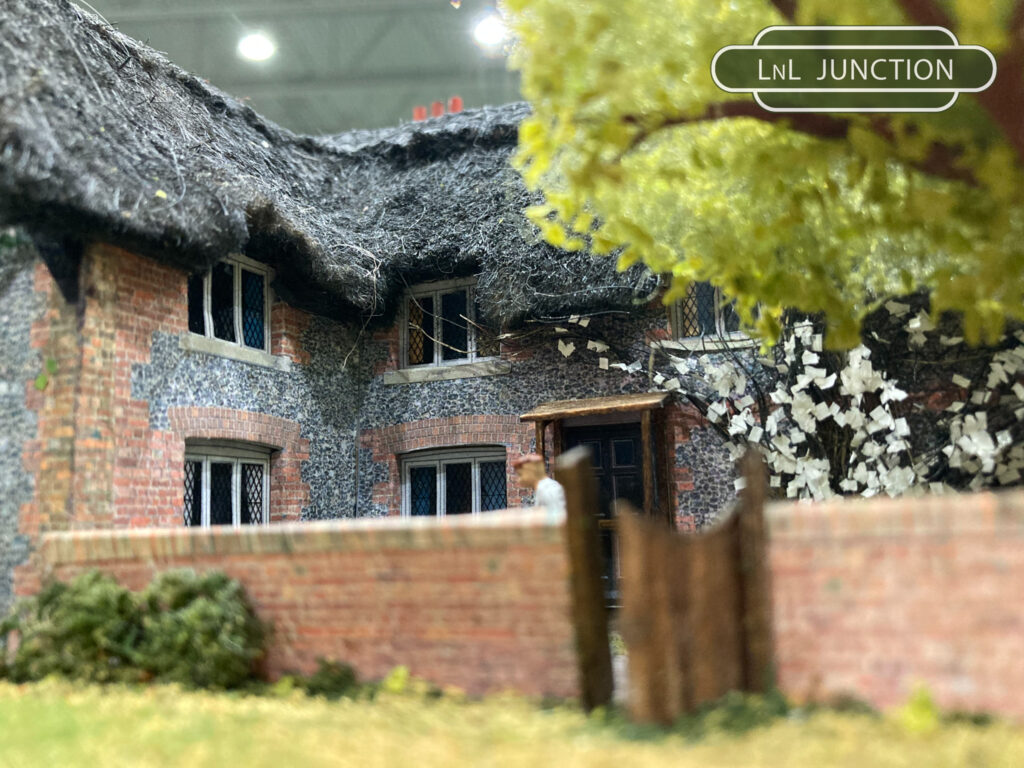
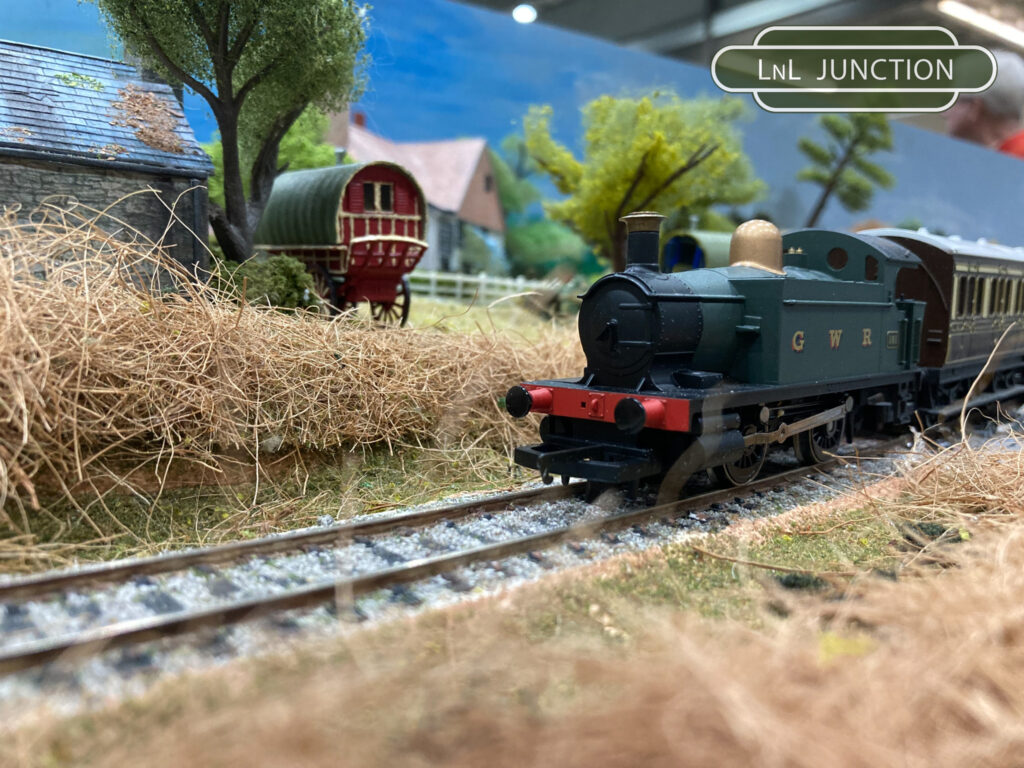
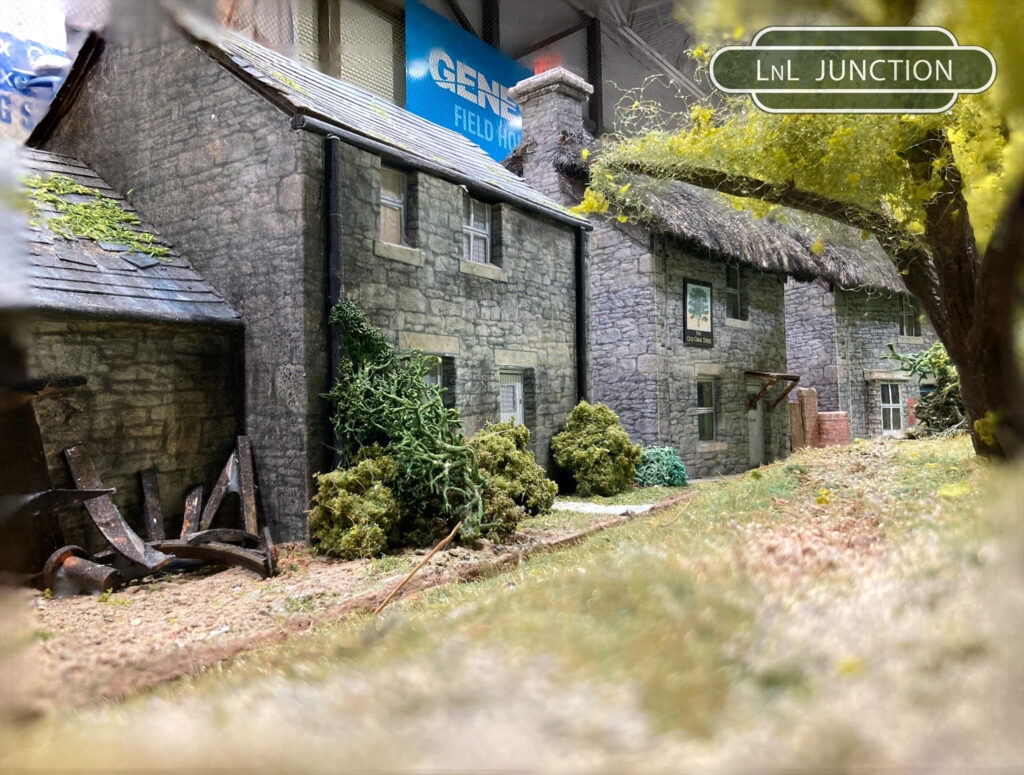
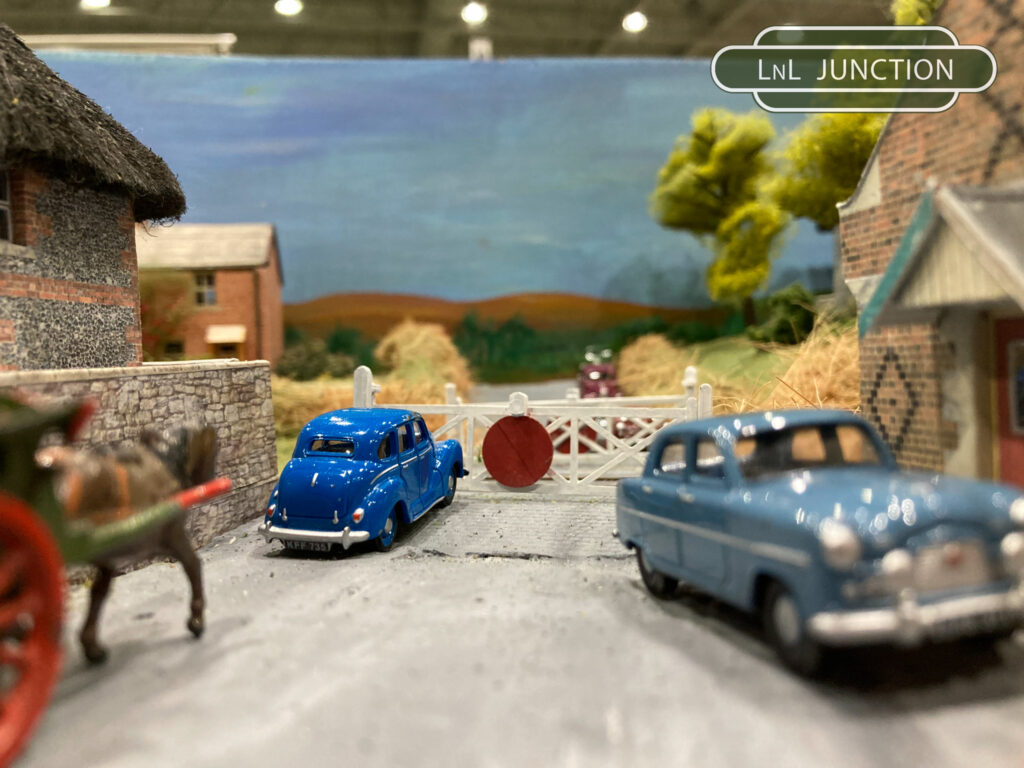
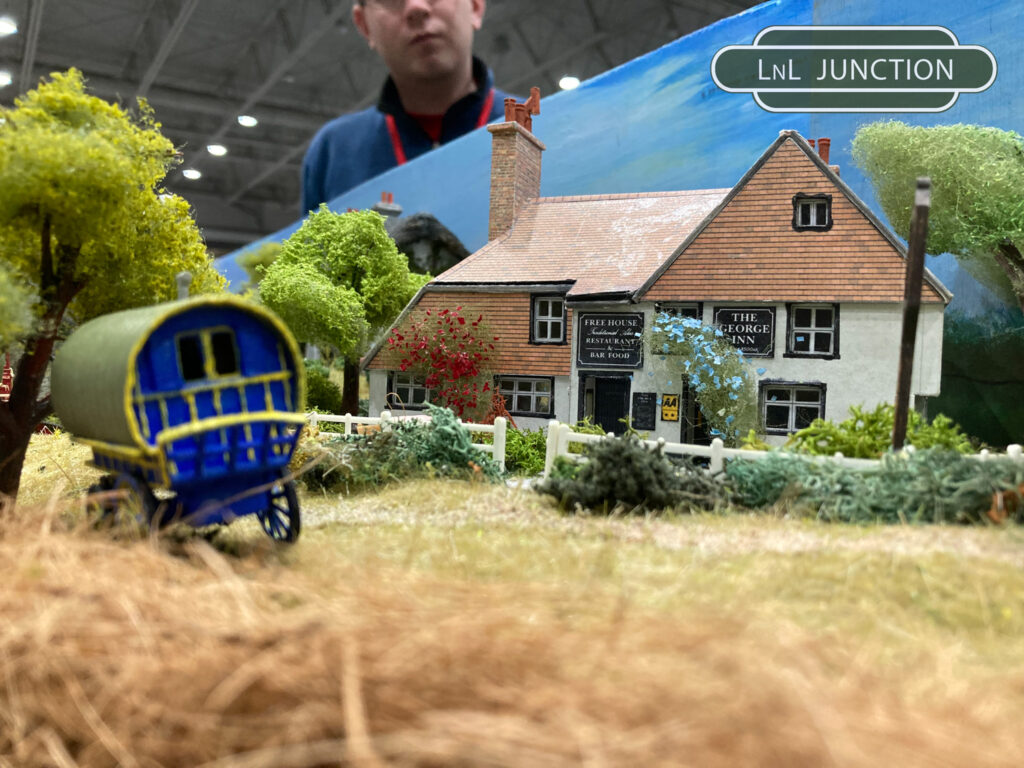
The line then passes past a farm, through a little hamlet, thatched cottages, and a road crossing, then newer cottages and a pub.
![](https://calgarybritishrailwaymodellers.ca/wp-content/uploads/2023/07/IMG_1088-1097-1024x775.jpg)
![](https://calgarybritishrailwaymodellers.ca/wp-content/uploads/2023/07/IMG_1474-1024x768.jpg)
![](https://calgarybritishrailwaymodellers.ca/wp-content/uploads/2023/07/IMG_1486-1024x768.jpg)
![](https://calgarybritishrailwaymodellers.ca/wp-content/uploads/2023/07/IMG_1471-1024x768.jpg)
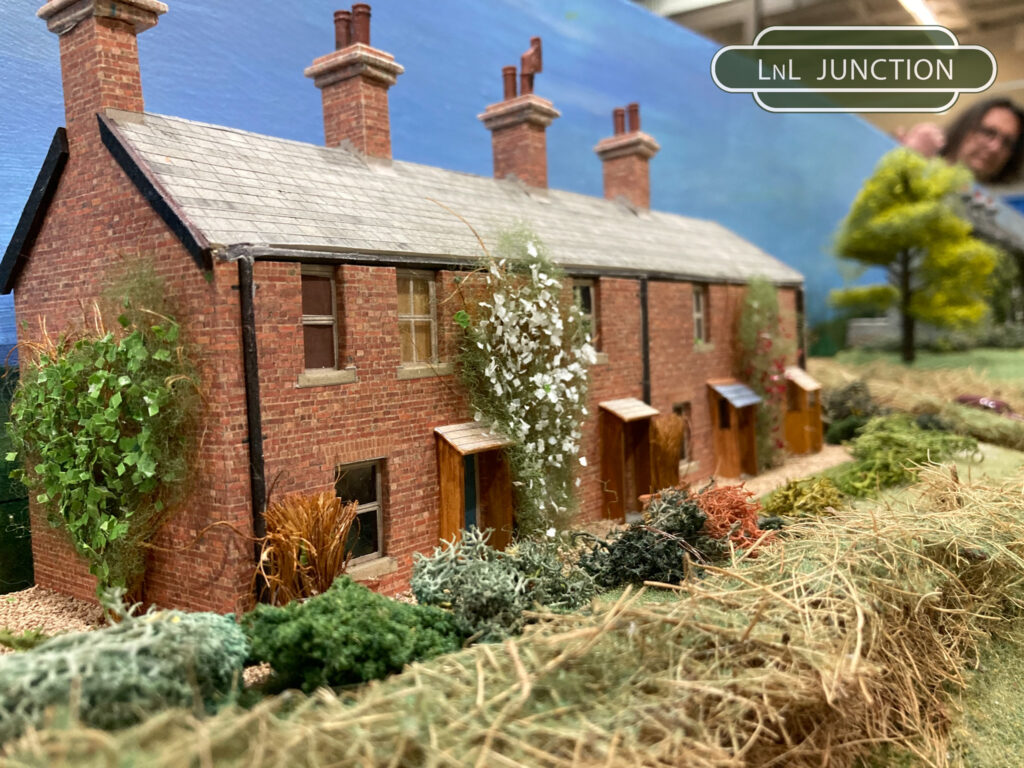
There is next a small station, with signal box, goods shed, then a few shops and another pub.
![](https://calgarybritishrailwaymodellers.ca/wp-content/uploads/2023/07/IMG_1520-1024x768.jpg)
![](https://calgarybritishrailwaymodellers.ca/wp-content/uploads/2023/07/IMG_1571-1024x768.jpg)
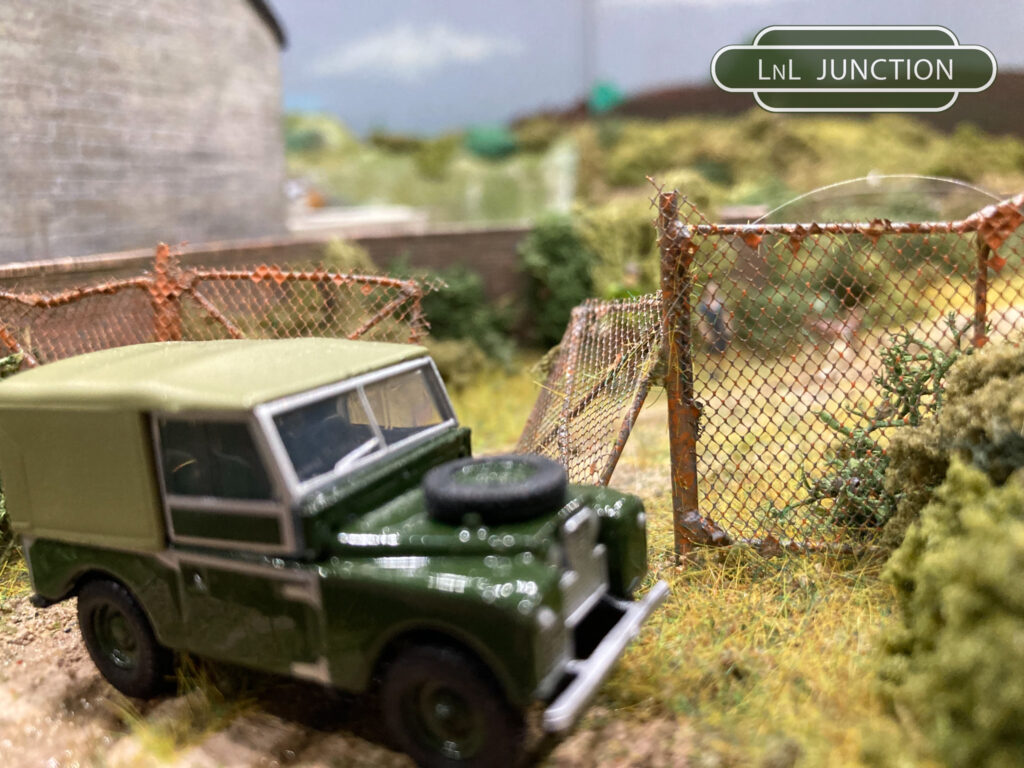
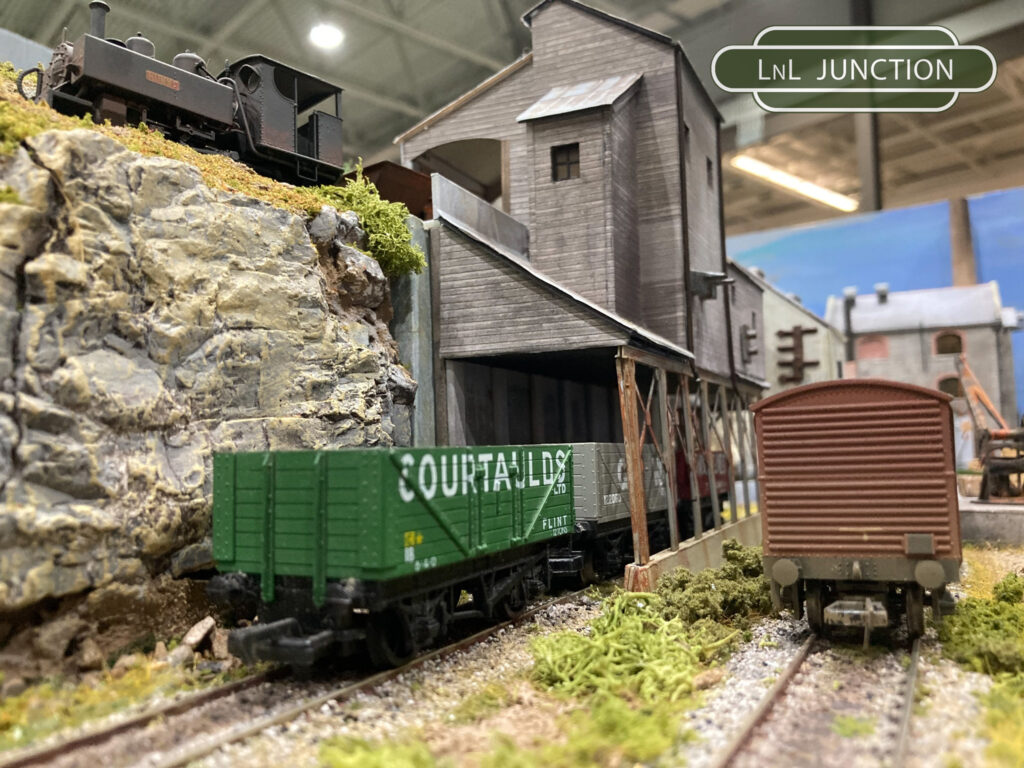
Leaving the station, the line passes behind an abandoned industrial site before vanishing into a tunnel.
![](https://calgarybritishrailwaymodellers.ca/wp-content/uploads/2023/07/IMG_1466-1024x768.jpg)
![](https://calgarybritishrailwaymodellers.ca/wp-content/uploads/2023/07/IMG_1462-1024x768.jpg)
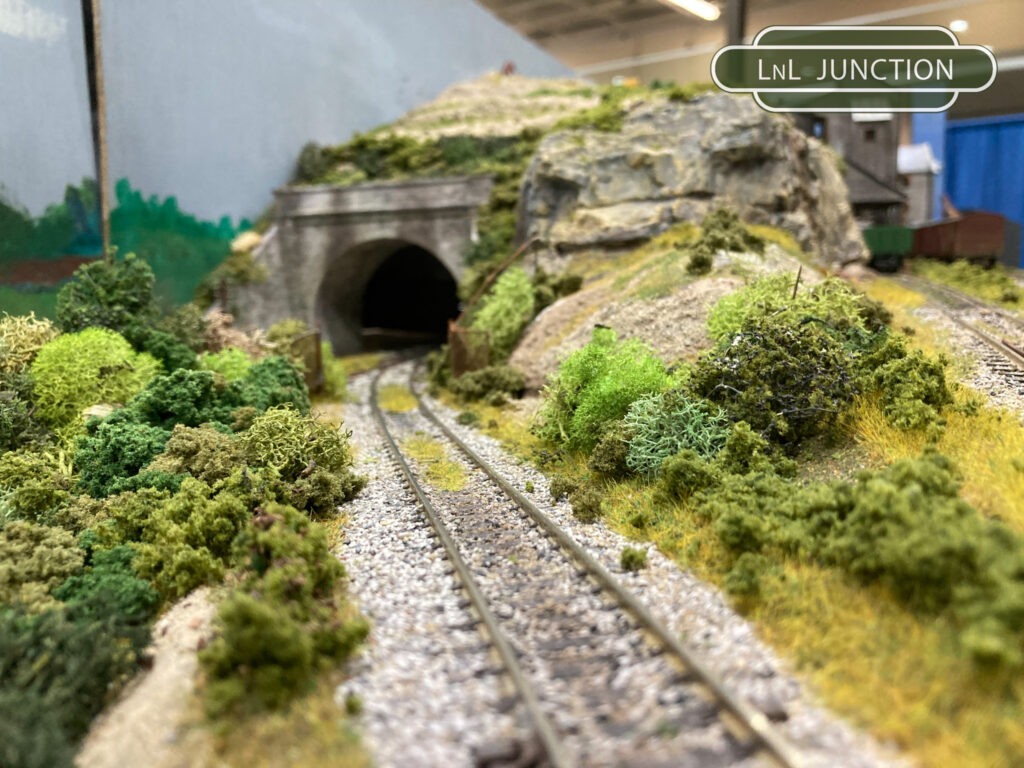
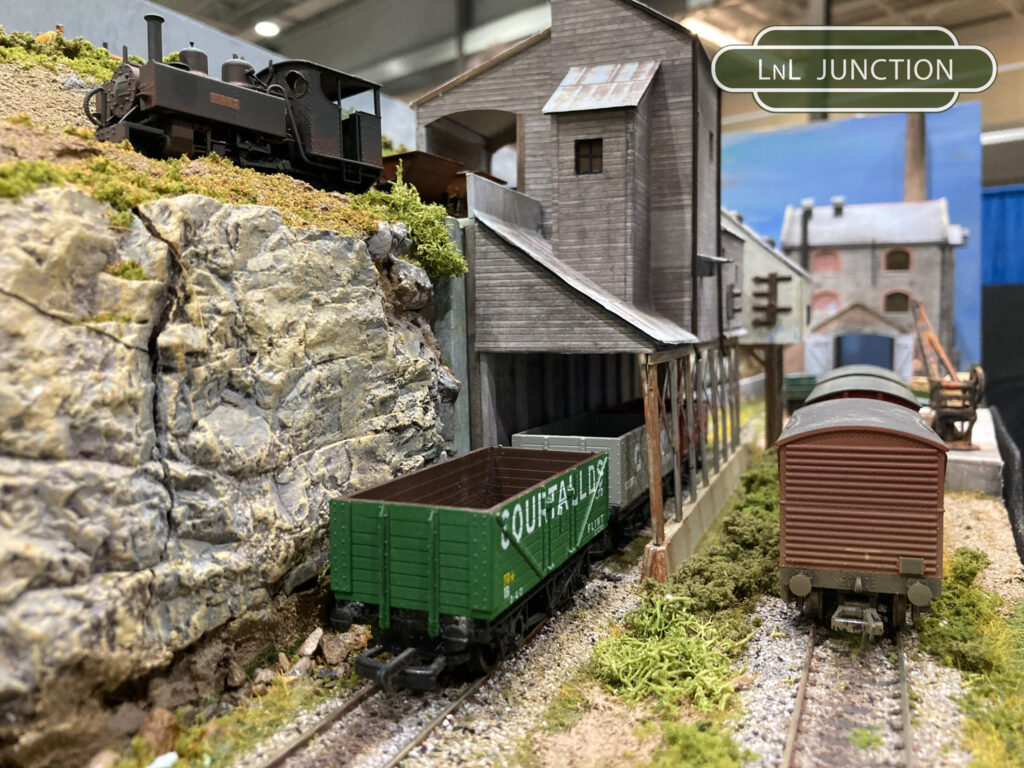
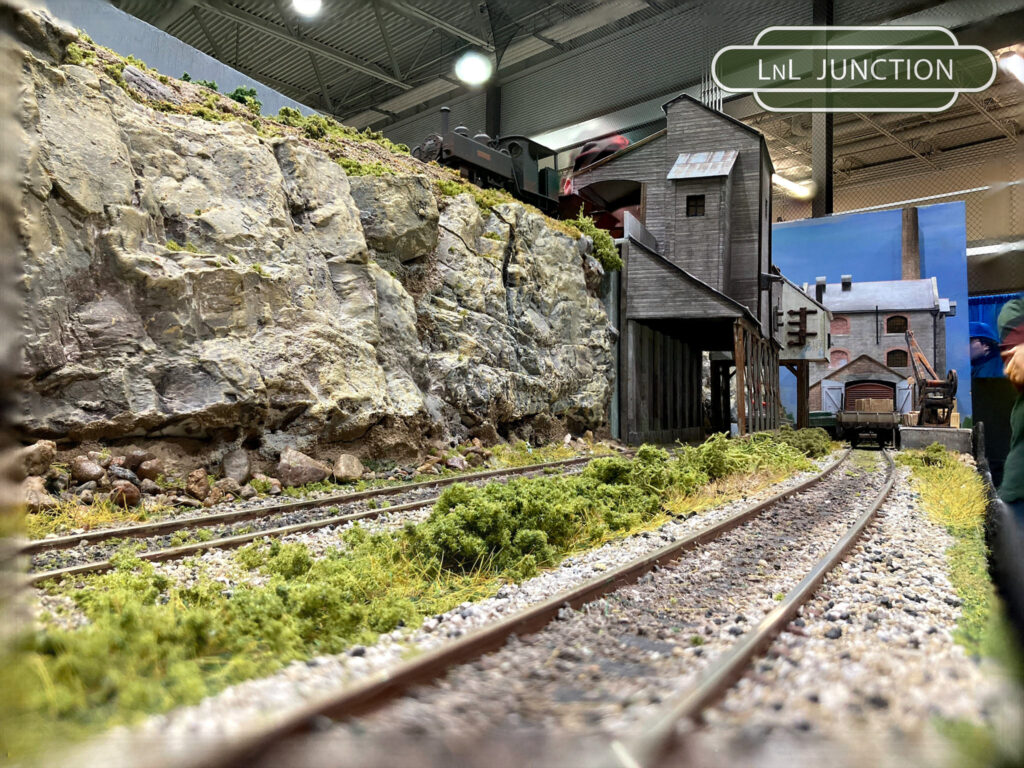
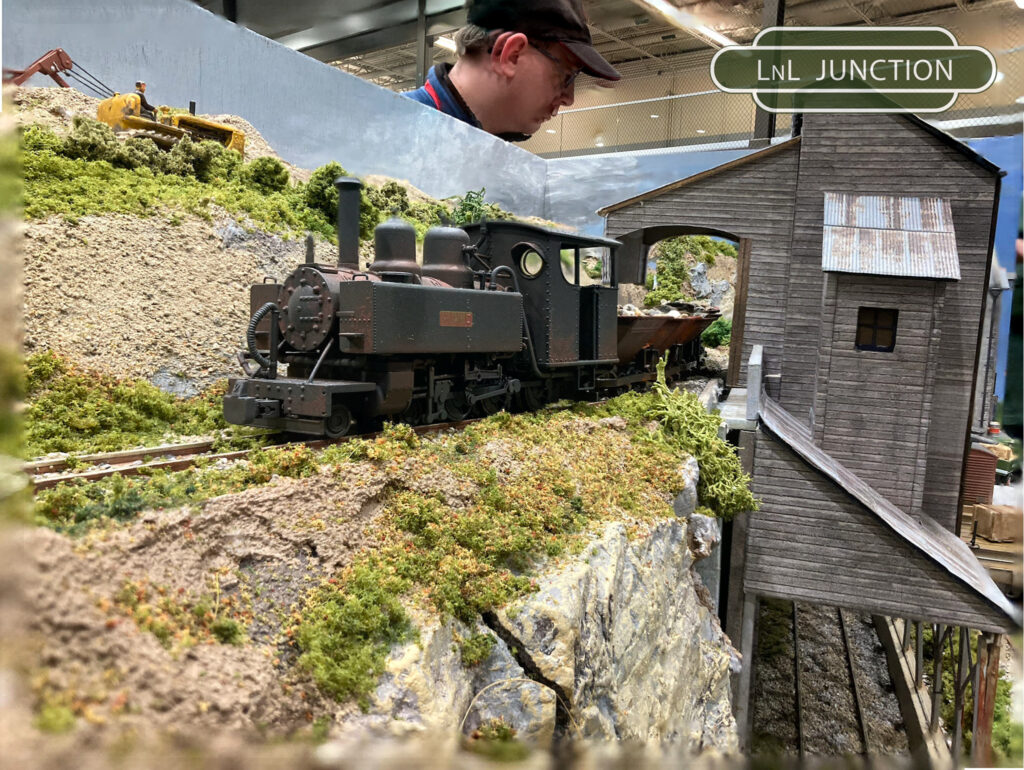
The tunnel goes under a mine site with industrial buildings, and a narrow gauge mine railway above it.
![](https://calgarybritishrailwaymodellers.ca/wp-content/uploads/2023/07/IMG_1048-1057-1024x768.jpg)
![](https://calgarybritishrailwaymodellers.ca/wp-content/uploads/2023/07/IMG_1058-1067-1024x770.jpg)
![](https://calgarybritishrailwaymodellers.ca/wp-content/uploads/2023/07/IMG_1459-1024x768.jpg)
The line exits the tunnel from under the mine to a traverser ‘fiddle yard’ that is not landscaped but is visible for operational interest.
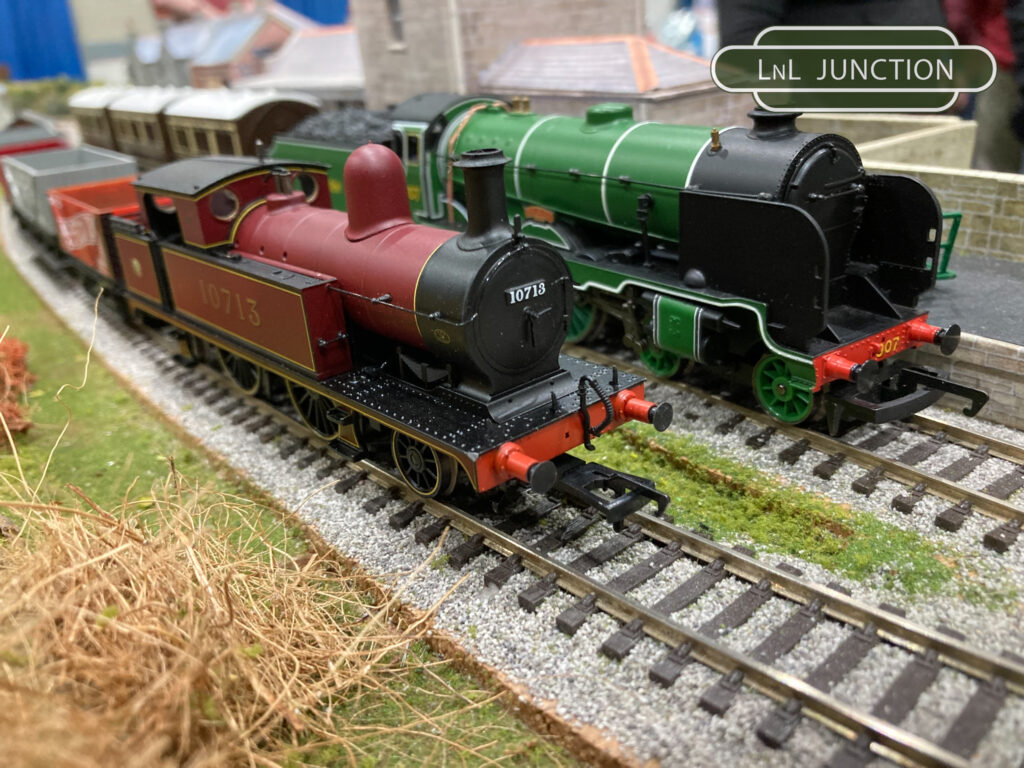
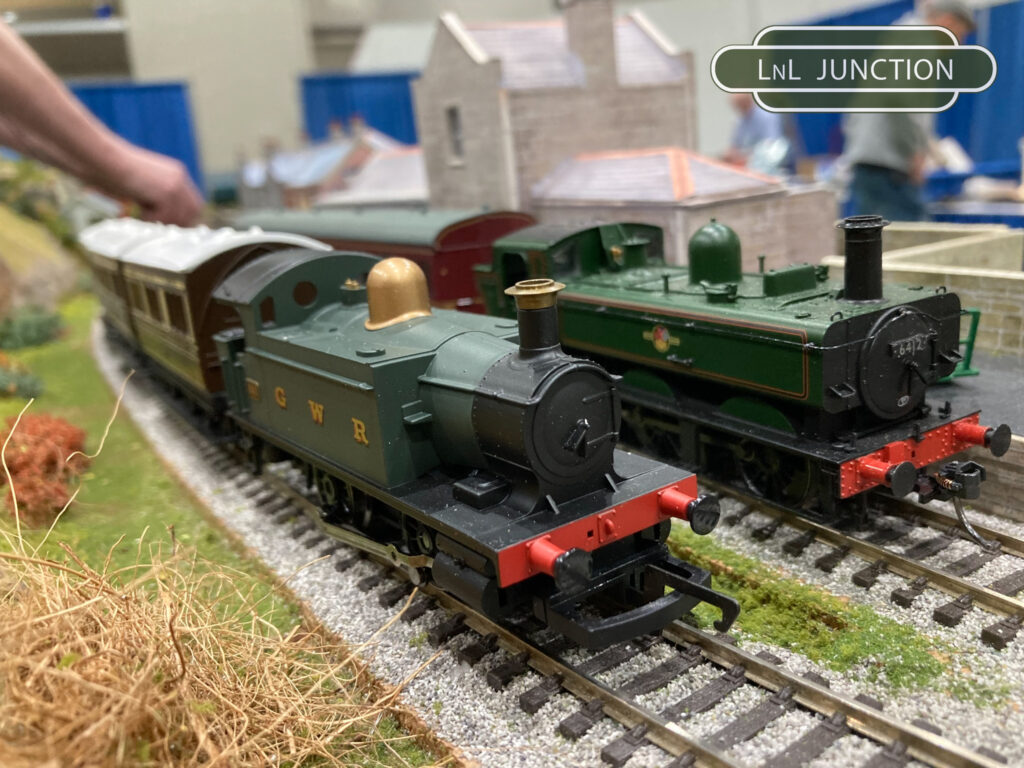
More images of operations and locations..
![](https://calgarybritishrailwaymodellers.ca/wp-content/uploads/2023/07/IMG_1174-1024x768.jpg)
![](https://calgarybritishrailwaymodellers.ca/wp-content/uploads/2023/07/IMG_1507-1516-2-1024x768.jpg)
![](https://calgarybritishrailwaymodellers.ca/wp-content/uploads/2023/07/IMG_1531-1024x768.jpg)
![](https://calgarybritishrailwaymodellers.ca/wp-content/uploads/2023/07/IMG_1476-1024x768.jpg)
![](https://calgarybritishrailwaymodellers.ca/wp-content/uploads/2023/07/IMG_1477-1024x768.jpg)
![](https://calgarybritishrailwaymodellers.ca/wp-content/uploads/2023/07/IMG_1534-1024x768.jpg)
![](https://calgarybritishrailwaymodellers.ca/wp-content/uploads/2023/07/IMG_1615-1024x768.jpg)
![](https://calgarybritishrailwaymodellers.ca/wp-content/uploads/2023/07/IMG_1501-1024x768.jpg)
![](https://calgarybritishrailwaymodellers.ca/wp-content/uploads/2023/07/IMG_1078-1087-1024x768.jpg)
![](https://calgarybritishrailwaymodellers.ca/wp-content/uploads/2023/07/IMG_1460-1024x768.jpg)